As a Makeup Artist, I am always creating different looks but throughout the years I realized easy natural eye makeup can help enhance your face when you know how to correctly apply every product.
To those who are new to this world, do not be afraid of makeup, creating the look is not rocket science, just a matter of letting your creativity flow.
This will be your guide for effortless and trendy makeup, you will find all you need to know from the parts of the eye, what are the essential products to use, and the best ways to apply flawless eyeshadow step by step.
What are the parts of the eye?
A brief but important step is to understand a bit about the anatomy and parts of the eye before explaining that will be key to enhance your eye shape.
- Inner corner – This is the part between the nose bridge and the eyelid. It can look like a sided “v”.
- Eyelids – We usually apply eyeshadow to the whole lid, sometimes divided into “Inner, middle and outer lid.”
- Crease – The crease is the part of your eye that is folded.
- Brow bone – The name itself tells you this is the part right below your eyebrows.
- Lash line upper/bottom – This is the area right above or below our lashes depending on the case.
- Waterline upper/lower – Just like the lash line we have an upper and lower waterline, and it is located after the lash line.
What do you put on your eyes before applying eyeshadow?
Eyeshadow primer
This is the first product I suggest applying, especially one with a bit of color to help even out the pigment over your eyelids, this type of primer also prevents your eyeshadow from creasing, and it usually helps to create a long-lasting effect.
Laura Mercier, Eye Basics Primer: You can use it as an eyelid primer or alone to color correct and cover imperfections. I love this product because it has a creamy texture that helps blend easily and smoothly. Keep in mind, it comes in four different shades, choose the right one for your skin tone.

Oil-Free Concealer
If you have a dry concealer that is oil-free, you can use it over your eyelids as a primer to control the natural greasiness that your eyelids tend to create during the day.
Eyelid Pencil Primers
Some eye pencils are made particularly to work as primers too.
Within The Trend, experts love Anastasia Pro Pencil to prep the eyelid for eyeshadow and conceal blemishes as well.
Which products should I invest in to create a natural eye makeup look?
There are many types of products that you can add to your kit to create an eye look but here are our top 3 that you should not be missing.
1 – Eyeshadow
There are plenty of eyeshadows in the market, make sure you get the perfect one for your needs. Here are the different types of eyeshadows:
- Cream eyeshadows
- Mousse
- Gel
- Eyeshadow pencils
- Liquid eyeshadow
- Regular powder eyeshadow
The most common are the regular eyeshadow palettes that you probably have seen everywhere.
Some of my favorite eyeshadow palettes are from Anastasia Beverly Hills, the pigmentation is great, they are easy to blend and the color combination is great.
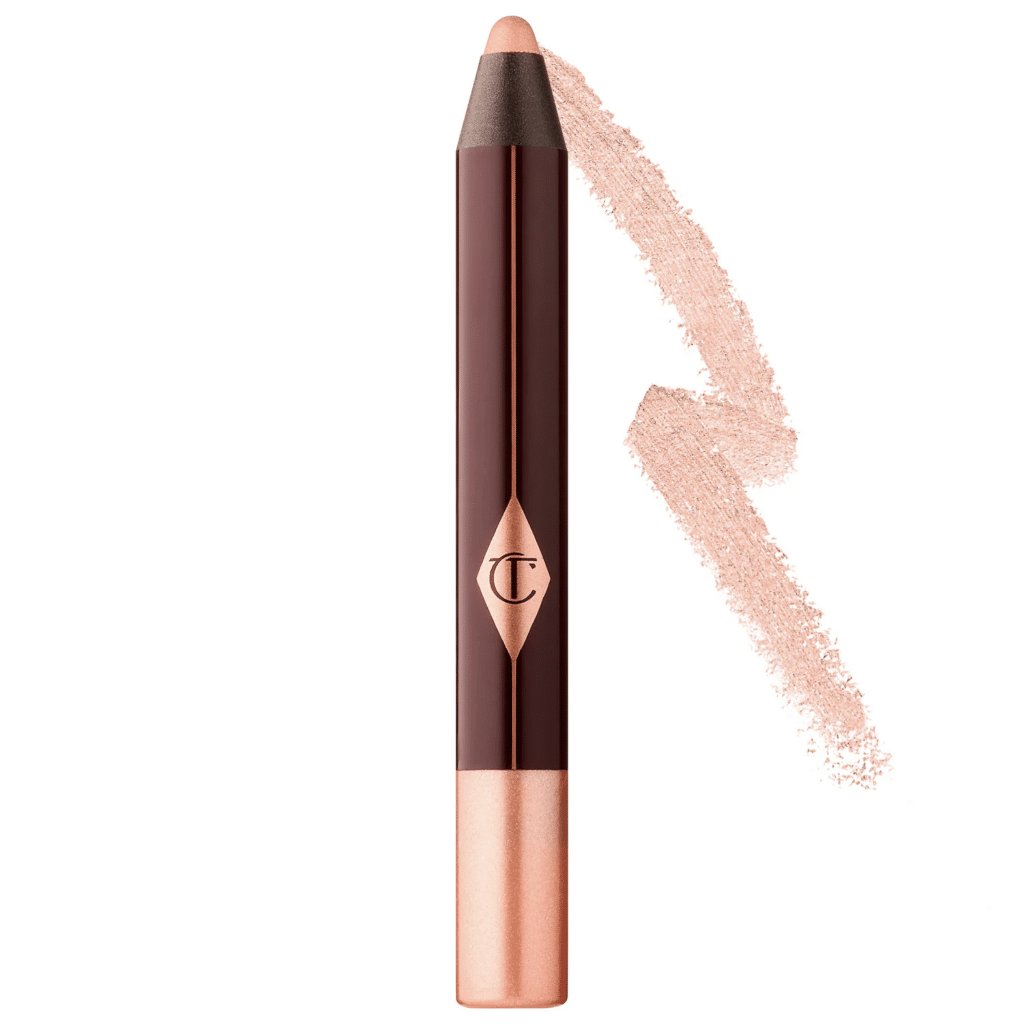
For easy eye makeup application, I recommend Charlotte Tilbury, Colour Chameleon Eyeshadow Pencil. this one comes in 8 different shades, and the reason why I recommend it is because you can use it as eyeshadow or as eyeliner, therefore you have two products in one, plus it is waterproof.
2 – Brush set
These are key to blend the eyeshadow and create a smooth finish for any look. Make sure you get a blending, a crease, and a flat shader brush.
Favorite brush to blend eyeshadow:
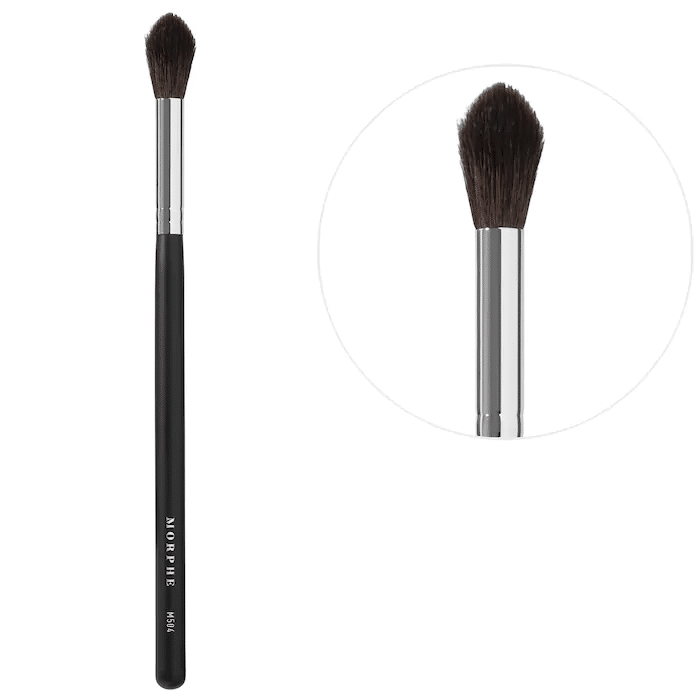
Morphe, M504 Large Pointed Blender Brush: This brush is not only a great option for blending out your eyeshadow, I find the pointed tip helpful and the quality is great, also the price, but it is also great for those on a budget.
3 – Mascara
If I had to pick only one product in my makeup collection it would be mascara, I cannot live without it! It just makes my eyes pop out, I think it makes me look alive, I love a waterproof one!
Best Tip: There are different types of mascara wands, pay attention to the one you are choosing. If you prefer length over volume opt for a wand with short and separated bristles, and if you rather go for volume pick a mascara with dense bristles.
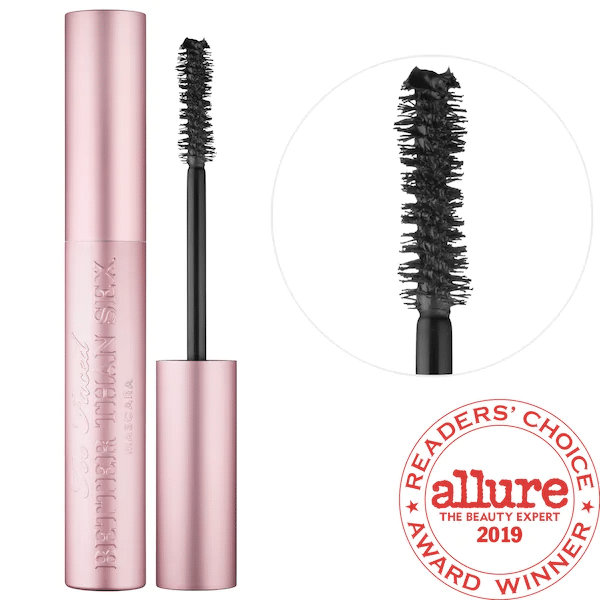
Too Faced, Better Than Sex Volumizing Mascara: This mascara is on my top 3. Not only does it give my lashes volume and length, but the formula is paraben-free, vegan, and cruelty-free. Oh, and they have a mini size perfect for your travel bag!
If you are looking for a dupe, try the L’oreal Voluminous Lash Paradise Mascara, not only does the packaging look alike but it creates a truly similar effect, you can find it for $9.50 on Amazon.
Step by step to create an easy eye look
1 – Cleanse
Preparing any part of your face before applying makeup is key to achieving a better result.
Make sure your lids are well cleansed, you can use a round cotton pad add micellar water to it, and gently remove any excess oil, or product.
2 – Prime
Once your eyelids are nice and clean, apply your primer of preference, I like to use my ring finger and dab in circular motions with my eyes closed making sure the product stays in place all over the lid. Allow the product to sink in your skin, let it dry for a couple of seconds before the next step.
3 – Apply your eyeshadow
With a small flat brush take your eyeshadow no matter which one you decide to use, I would opt for a neutral color, slowly start placing it from the middle part of your lid and expanding it to the outer corner of the eye and up to the crease. In this step you must be patient, making sure you layer the shadow remember it is always easier to apply more than to try and get rid of the excess product.
Once you achieve the desired color pigmentation go ahead and take a rounded fluffy brush with no product and start blending out the edges.
4 – Add a special touch
Even when the eyeshadow is all set, I like adding an extra step to help create a look worthy of your next profile pic.
Take a small brush, if you do not have one use your pinky finger to apply a bit of highlight to the inner corner of your eye this will create a glamorous effect, making your eyes look bigger and brighter, you can also add some under your brow bone.
5 – Apply mascara
The last step is adding mascara to your bottom and top lashes, I take my time when it comes to mascara. Start by applying one quote from the lash line and work your way up, then the second quote do it in a zig-zag motion, making sure to get all the smaller lashes, this will create a volumizing effect and make it look like you have fuller and thicker lashes.
For the bottom lash line, you can take the wand vertically and from top to bottom, careful not to smudge it on the under-eye.
You can add a darker shade within the same color palette and apply it over the outer corner of your eyes using a smaller brush.
It does not matter if you use this look for going out for drinks, a social gathering, or even just a zoom meeting, if you feel confident you will rock it out!
FAQ about applying eyeshadow:
How to blend eyeshadow?
There are two ways, you can do side to side in a windshield motion, small circles going up towards your crease and brow bone.
How do you make your eyeshadow look natural?
When creating a natural look, the application must be seamless and smooth. Blending is key. Sometimes blending takes longer than it took you to apply the rest of the makeup but this makes all the difference.
Here is how to master blending eyeshadow :
How do I make my eyeshadow last?
By using a primer before you start adding any product over your eyelids and using products that are long-lasting or waterproof.
Can you just wear eyeshadow?
Of course, when it comes to makeup, there are no rules, or better…the rule is to feel confident with whatever you choose to wear. You can use a single eyeshadow and look as amazing as when you choose to do a much dramatic eye.